You’ve signed the lease. The space is yours. Maybe it’s a suite with good bones or maybe it’s a retail shop that’s about to become a physical therapy office. Whatever the case, you’ve got a vision for what it could be, and a clock that’s already ticking.
Tenant improvement projects are how you turn that empty space into something functional, tailored, and inviting. But in the greater Seattle area, where permitting can be complex and construction timelines stretch longer than expected, getting it right takes more than a well designed floor plan and a good contractor. It takes foresight, coordination, and a real understanding of how the system works.
We’ve seen firsthand how passionate business owners get tripped up by the same avoidable issues. Not dramatic failures, but small oversights that ripple into delays or missed opportunities. It might be a zoning question no one thought to ask, or a restroom layout that needs a full accessibility review. These kinds of things tend to surface when the project is already underway.
If you’re a tenant building out a new space, expanding your business, or starting fresh in a different suite, this is what you’ll want to know before things start moving fast.
1. Starting Without a Permit Strategy
The issue: Signing a lease and assuming you can start work right away.
tldr: A clear permit strategy gives you clarity on your timeline, your scope, and your costs. Without it, you’re guessing and that gets expensive fast.
In Seattle and most nearby cities, nearly any meaningful upgrade to a commercial space requires at least one permit. And depending on your business type, it can trigger far more.
Let’s use opening a cafe as an example. If you’re replacing another food business, the path may be straightforward. But if you’re moving into what used to be a boutique, it becomes a change of use. That opens the door to zoning review, accessibility requirements, parking updates, and Health Department coordination. Add food service, and you may need additional engineers to support new equipment like rooftop units or grease interceptors.
Even light-use spaces like yoga or wellness studios can trigger reviews. The city sees a difference between an office and a place for group activities, showers, and higher occupancy. If your use doesn’t match you’re last tenant’s, your permit path could shift drastically.
Before any drawings are made, it helps to clearly define what your business is, how it uses the space, and what systems are already in place. A zoning and code analysis up front sets realistic expectations for scope, consultants, timeline, and cost.
It also helps with your lease. If you know permitting will take four months due to department coordination, you’re in a better position to negotiate a grace period or early access for as-built survey work.
2. Not Negotiating a Grace Period in the Lease
The issue: Paying rent on a space you can’t use yet.
tldr: A well-negotiated lease buys you time to do the project right, without bleeding cash while your team waits on permit approval.
Permits take time. Depending on the scope, process for tenant improvements can stretch 8 to 16 weeks or more, and construction might take another 6 to 12. If your lease starts immediately, and there’s no grace period built in, you could be on the hook for three to six months of rent before your doors even open.
Even worse, if you signed a personal guarantee, the payments aren’t optional. That’s why negotiating a rent-free grace period or a delayed rent start is so important. A good target is 4 to 6 months, which gives enough time for:
- Architectural and engineering permit drawings
- Zoning, use, and permit reviews
- Ordering long-lead items
- Construction and final inspections
Landlords who are experienced with TI projects often expect this kind of negotiation. For newer property owners, it helps to clearly explain why the grace period matters; the city requires drawings, permits, and consultant input before construction, and all of that takes time. At the very least, ask for early access before rent officially begins. This allows time for you to get as-builts, surveys, and design work underway while the space is still under their control.
3. Assuming “It’s Just Paint and Flooring”
The issue: Underestimating what the city considers a construction project.
tldr: Small upgrades can trigger big code requirements. Check before you build to avoid costly surprises.
We hear this one all the time. “We’re not doing anything big. Just some new flooring, a little paint, maybe a light or two.” Sounds simple, right?
The problem is, what seems like a cosmetic refresh can quickly cross the line into “construction” in the city’s eyes. And once you cross that line, you’re in permit territory. For example, here are a few upgrades that can trigger permit requirements:
- Swapping flooring materials
- Swapping materials like carpet to tile may impact accessibility, health department requirements, or fire ratings, especially at transitions or in shared corridors.
- Adding or relocating light fixtures
- Adding or moving fixtures can trigger energy code compliance. Daylight zones need dimming controls, and all wiring must be done by a licensed electrician.
- Installing cabinetry with plumbing or power
- Any built-ins with plumbing or electrical (like sinks or appliances) often require permits and may affect code clearances.
- Updating finishes in a restroom
- Changing partitions or counters may require full accessibility upgrades, including fixture spacing and turning radii.
- Modifying HVAC, sprinklers, or kitchen equipment
- Relocating ducts, adding hoods, or modifying sprinklers usually means mechanical, plumbing, and possibly structural review if making modifications to the roof top units (RTUs).
Even if the work itself doesn’t trigger a permit, your business use might. A new fitness studio moving into a space previously used as an office may need to demonstrate egress compliance, add an accessible restroom, or even increase the number of plumbing fixtures.
4. Not Reading the Lease Carefully
The issue: Missing important clauses that affect construction, timing, and costs.
tldr: Your lease sets the stage for everything: what you’re allowed to build, who pays for what, and what you might be responsible for when the lease ends. Understanding the fine print early can save you from costly surprises later.
It’s easy to skim over the legalese and focus on the rent and term length. But buried in the lease are often provisions that directly affect your build-out. Ignoring them can lead to delays, surprise costs, or even disputes with the landlord.
Some clauses to be aware of:
- Who owns the improvements?
- Most leases say anything you build stays with the landlord. That’s normal, but it matters when you’re investing heavily. If you’re footing the bill for permanent upgrades, make sure it’s clear what happens if you leave early.
- Alteration and approval rights
- Commercial landlords often require a full review of your drawings before construction starts. Some will also want input on your contractor, materials, or layout. That review takes time and might require revisions that change the cost or scope of work.
- Reinstatement clauses
- Some leases require you to return the space to its original condition when you move out. If your build-out is substantial, this clause could mean major demo costs down the road.
- Permit responsibility
- Certain leases place the entire burden of permitting on the tenant, even if your work triggers upgrades in shared areas like corridors or restrooms. Know what you’re expected to handle before you commit.
- Use clauses and exclusivity
- Your lease might limit what kind of business can operate in the space or block overlap with other tenants. These definitions are also part of the city’s permit review, so clarity matters on both fronts.
Understanding these provisions early gives you a better foundation for your project and can inform what you ask for during lease negotiations.
5. Overlooking Accessibility and Egress
The issue: Forgetting that commercial spaces have to work for everyone, and get people out safely.
tldr: Planning for accessibility and egress up front keeps your project on track and your space usable for everyone. It’s one of the smartest things you can do from day one.
Accessibility and egress are two of the most commonly overlooked and most heavily enforced parts of commercial construction. These aren’t just code checkboxes. They affect how your space functions for people using wheelchairs, mobility aids, or navigating in an emergency. And once plans are in at the City, failing to account for them can stall reviews or require significant redesigns.
Here’s what this looks like in real projects:
- Restroom often need more than you think
- Even if you’re not moving fixtures, older fixtures might not meet current accessibility standards for spacing, grab bars, or turning radii.
- Entry doors may need upgrades
- Wider clearances, accessible hardware, and level thresholds are common requirements. Shared lobbies or exterior paths may also trigger upgrades if they serve your suite.
- Floor level changes may require ramps
- Any interior step without an accessible alternative can become a major hurdle. Sometimes a simple ramp works. Other times, it means rethinking circulation.
- Occupancy affects your exits
- Higher occupancies can require additional exit signage, emergency lighting, or even a second exit with fire-rated corridors.
- Door hardware matters
- Levers must meet accessibility guidelines, including pressure and closing speed.
- Corridor minimum widths change with use
- Minimum clearances shift with occupancy type, and dividing the space often makes this more complex.
Beyond layout, it’s about what you’re space is used for and how many people will be there. A group fitness studio brings different egress and accessibility requirements than a law office. That’s why we check egress and accessibility early. One of the first things we do after our zoning and code analysis is to create a concept code plan. This let’s us design around known challenges from the start and not scrambling to fix them at permit review.
6. Waiting Too Long to Involve a Contractor
The issue: Designing a space that sounds good on paper but breaks your timeline and budget in the real world.
tldr: The earlier a contractor is involved, the more informed your project becomes. You’ll save time, money, and stress when it comes time to actually build.
It’s nearly common practice to wait until plans are submitted for permit before looping in a contractor. It sounds efficient, but this often leads to surprises that slow things down and cost more to fix later.
By the time the drawings are in for permit, a lot of the big decisions have already been made. Fixtures are chosen, systems are laid out, and walls are where they’re going to be. If a contractor reviews the plan at that stage and spots an issue, it’s harder and more expensive to pivot.
Contractors see the project differently than designers. They look at material availability, trade scheduling, construction sequencing and the realities of field work. A good contractor can also flag items that sound simple but are actually complex under the surface, like cutting into the slab for plumbing, rerouting ductwork around steel beams, or figuring out how to bring power to a new reception desk. The earlier a contractor is brought in, the sooner the issues can be fixed.
Even if you haven’t selected a contractor yet, many will do a pre-construction consult once the basic layout is in place. This is often a fixed fee or rolled into a negotiated contract, and it’s well worth the investment.
In an ideal world, the contractor joins the conversation once schematic design is complete. That’s when we can still make impactful decisions, without needing to redo drawings or reprice half the project.
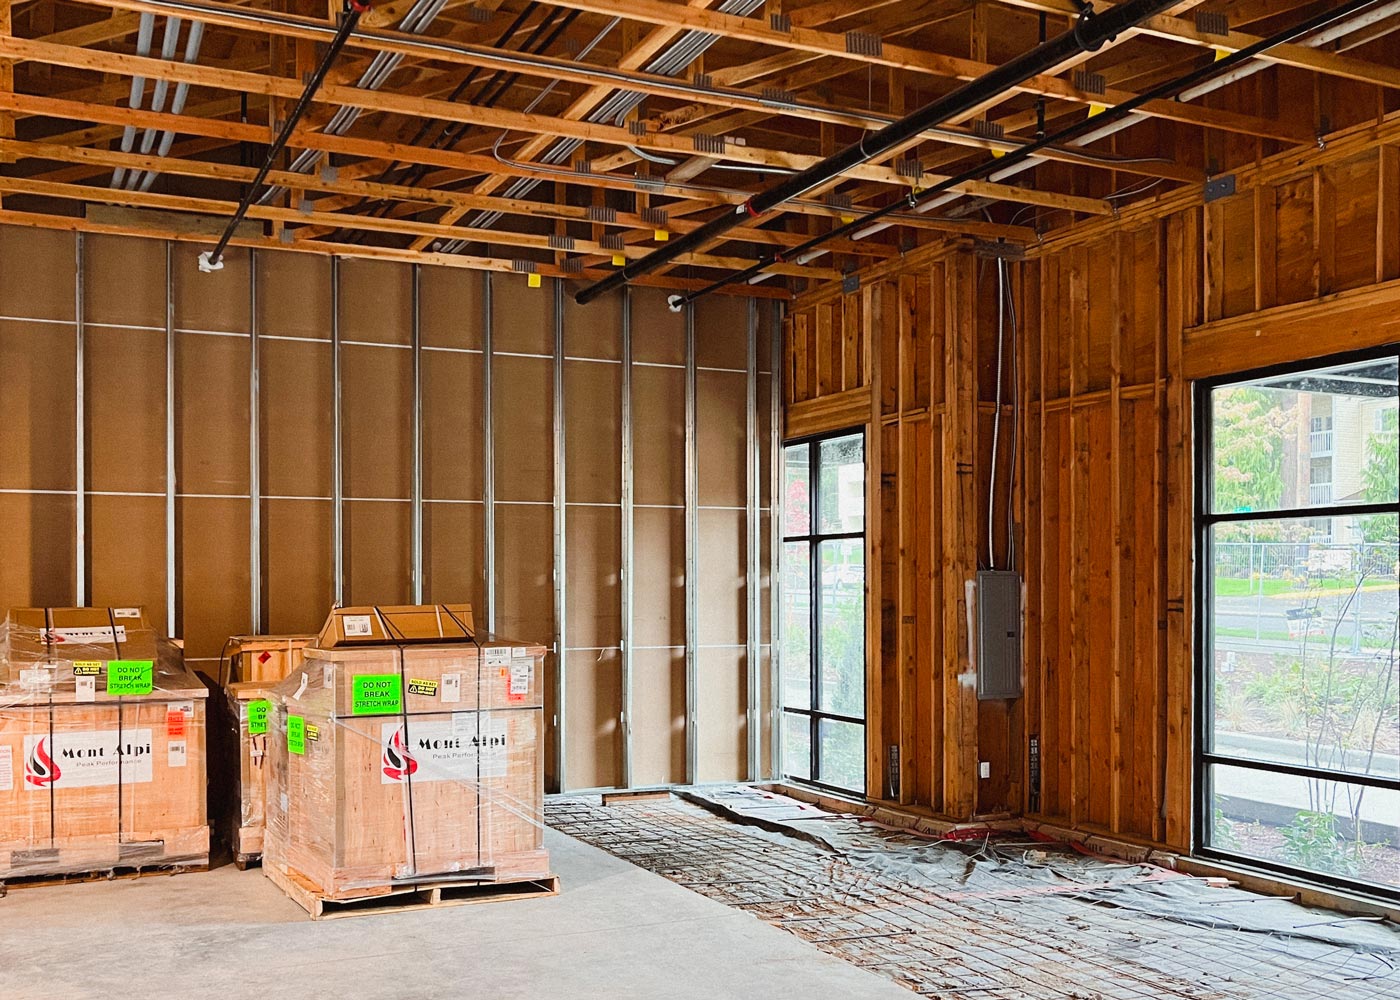
7. Underestimating Lead Times and Build Duration
The issue: Thinking the hard part is over once the permit is approved.
tldr: Staying on schedule means anticipating delays, managing lead times, and keeping construction moving with realistic expectations and tight coordination.
It’s easy to breathe a sigh of relief when the permit finally comes through. And yes, it’s a milestone worth celebrating. But the truth is, it’s only the halfway point. The next challenge is execution, and that’s where a lot of tenant improvement projects hit an unexpected wall.
Certain materials and fixtures have long lead times that can stretch your timeline before construction even beings. Lighting controls, HVAC units, ADA-compliant plumbing fixtures, and custom casework often take weeks or even months to arrive. If these items aren’t ordered until after the permit is issued, they can push your build-out back significantly. And it’s not just the specialty items. Even something as simple as door hardware or paint can hold things up if you’re working within a tight window.
Add to that the challenge of scheduling trades. Your contractor is coordinating with multiple subcontractors, each of whom has their own calendar. If one delay cascades, the electrician gets pushed back because the framing isn’t complete and your entire timeline can shift, for example.
This is especially true in Seattle, where labor shortages and high construction demand mean even small delays can snowball. A four-week build can quickly turn into eight if the schedule isn’t tightly managed and long-lead items weren’t anticipated. And then there’s the closeout phase, which many people underestimate. Final inspections, punch list corrections, and waiting on signed-off paperwork can add another few weeks before you’re ready to move in.
That’s why we recommend identifying long-lead items early. If products are specified during design and ordered while the permit is under review, the moment the permit is issued you’re ready to go. You’re not waiting on lighting or casework or scrambling to find an alternative product. You’re building.
Closing Thoughts
By the time you’re choosing tile or figuring out where the signage goes, the big stuff should already be behind you. That’s what careful planning makes possible. A successful tenant improvement project isn’t just about design or construction. It’s about aligning expectations, understanding what the city will require, and making sure your lease, team, and timeline are working in sync. The earlier those conversations start, the more room you’ll have to make smart decisions, and the fewer surprises you’ll hit along the way.
Every project is different, but the common thread in the ones that go smoothly is preparation. Knowing what to ask, what to expect, and who to bring in at the right time can mean the difference between a stressful scramble and a steady path to opening day.